Easy DIY Shark Halloween Costume with SwimZip!
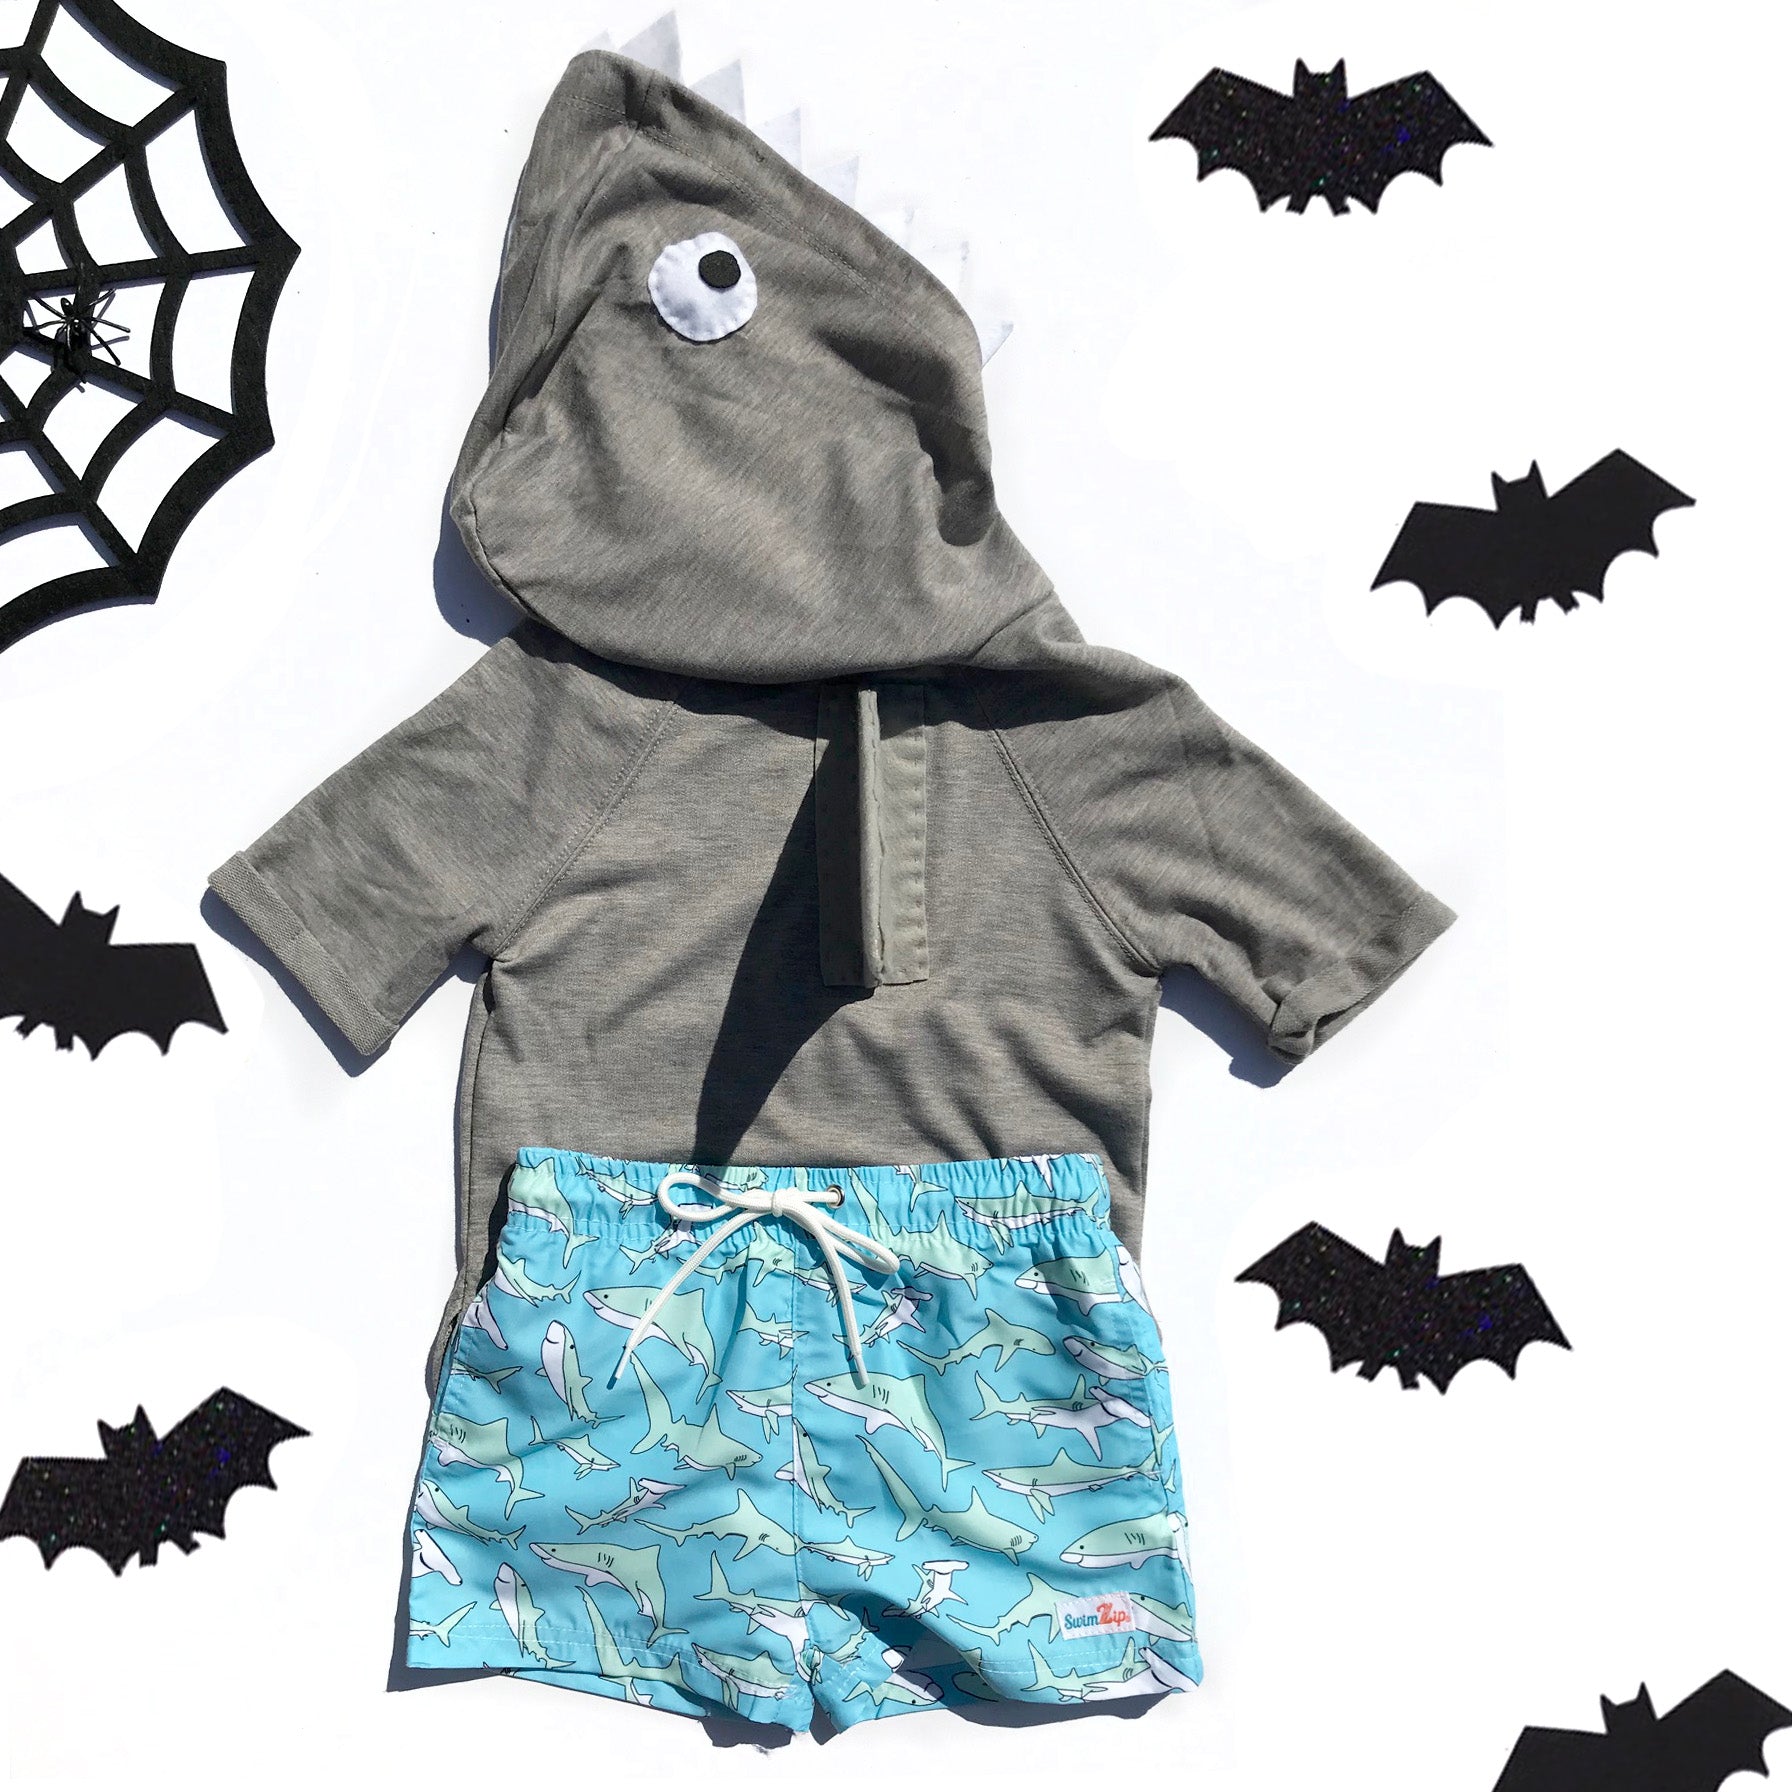
Stumped on what to dress your kiddos as for Halloween this year? SwimZip has you covered! This easy DIY shark costume is complete when paired with the SwimZip board shorts (that even have adorable sharks on them!)

Here's what you need to get your LITTLE DIY SHARK SWIMMING! Make sure you read till the bottom of the page...there might be a surprise waiting!

Supplies:
-Grey Hoodie
-Scissors
-Pins
-Pencil/ Disappearing Fabric Marker/ Chalk
-Measuring Tape
-1 Sheet of White, Black and Grey Felt
-Piece of Cardboard
-Ruler
-Hot Glue Gun
-White and Grey Thread and Needle

Constructing the Fin!
1. Decide the shape and size you want the fin to be. Draw it on your piece or cardboard and cut it out.
2. Place the fin on your grey felt and cut two pieces. The outer edge should be around 1/2" bigger and the bottom should be around 3/4" bigger. Glue one piece of the felt to your cardboard. Then cut into the felt, stopping close to the edge of the cardboard, and cut a notch out near the tip. This will help the felt fit around the curve of the fin better.
3. Fold the felt over the edge of the cardboard and glue.
4. Glue your second piece of felt to the unfinished side of the fin making sure the glue extends all the way to the edge of the cardboard. Cut off the excess felt along the outer edge (not the bottom).

Adding the Teeth!
1. Lay the hood flat and measure how long the opening is. We decided to stop the teeth at 11 1/2".
2. Get your piece of white felt (ours is 12" long). Measure 3/4" above the long edge and mark a line (this is the portion that will be attached to the hood). Measure 1 inch above that line and make another mark. Draw the teeth shape you want in between the lines. Cut out the teeth.
3. Flip your felt to the other side so you have a straight edge. Follow the same process. We laid our first section of teeth at the 11 1/2" mark so that we could align the teeth shape when we combined the two pieces. Cut out your teeth and glue the pieces together (in total we have a 23" long section of teeth for the hood).

Eyeball Time!
1. Decide how big you'd like the eyeballs to be and cut two out (the white portion of ours are 1 1/2" wide and the black portion is 1/2" wide). Glue the black pupils to the white eyeballs.
2. Grab your scissors, white and grey thread, needle, and pins to start sewing the pieces to the hoodie!

It's SEW on!
1. Pin the teeth to the opening of the hood. Align the first line you drew to the edge of the hood.
2. Take your white thread and start sewing the teeth to the hood using a running stitch. We hid our thread so you can't see it from the outside by only catching the inside hem of the hood.
3. Decide where it looks best to add the eyeballs and pin them to the hood.
4. Use your white thread to sew the eyeballs to the hood with a running stitch around the edge. Leave a small portion unsewn and stuff the eyeball with small strips of the white felt to give it a 3D effect. Finish sewing around the eyeball and tie your thread off.
5. Open the bottom edge of the fin and pin both sides to the back of the hoodie.
6. Attach the fin to the hoodie with your grey thread using a running stitch.

And there you have it, your own little SwimZip shark to show off this Halloween!!!
Thank you Ashley Peavey for capturing these moments of your little shark!

BUT WAIT...THERE'S MORE! We will be hosting a GIVEAWAY for this entire DIY Shark Costume on OCTOBER 16 with NOXX! Enter on SwimZip's Instagram page for a chance to win!


Leave a comment
This site is protected by hCaptcha and the hCaptcha Privacy Policy and Terms of Service apply.